Tuesday, January 23, 2024

A Signal Tower for East Branch? -- Part 3

Photo with current status of the tower

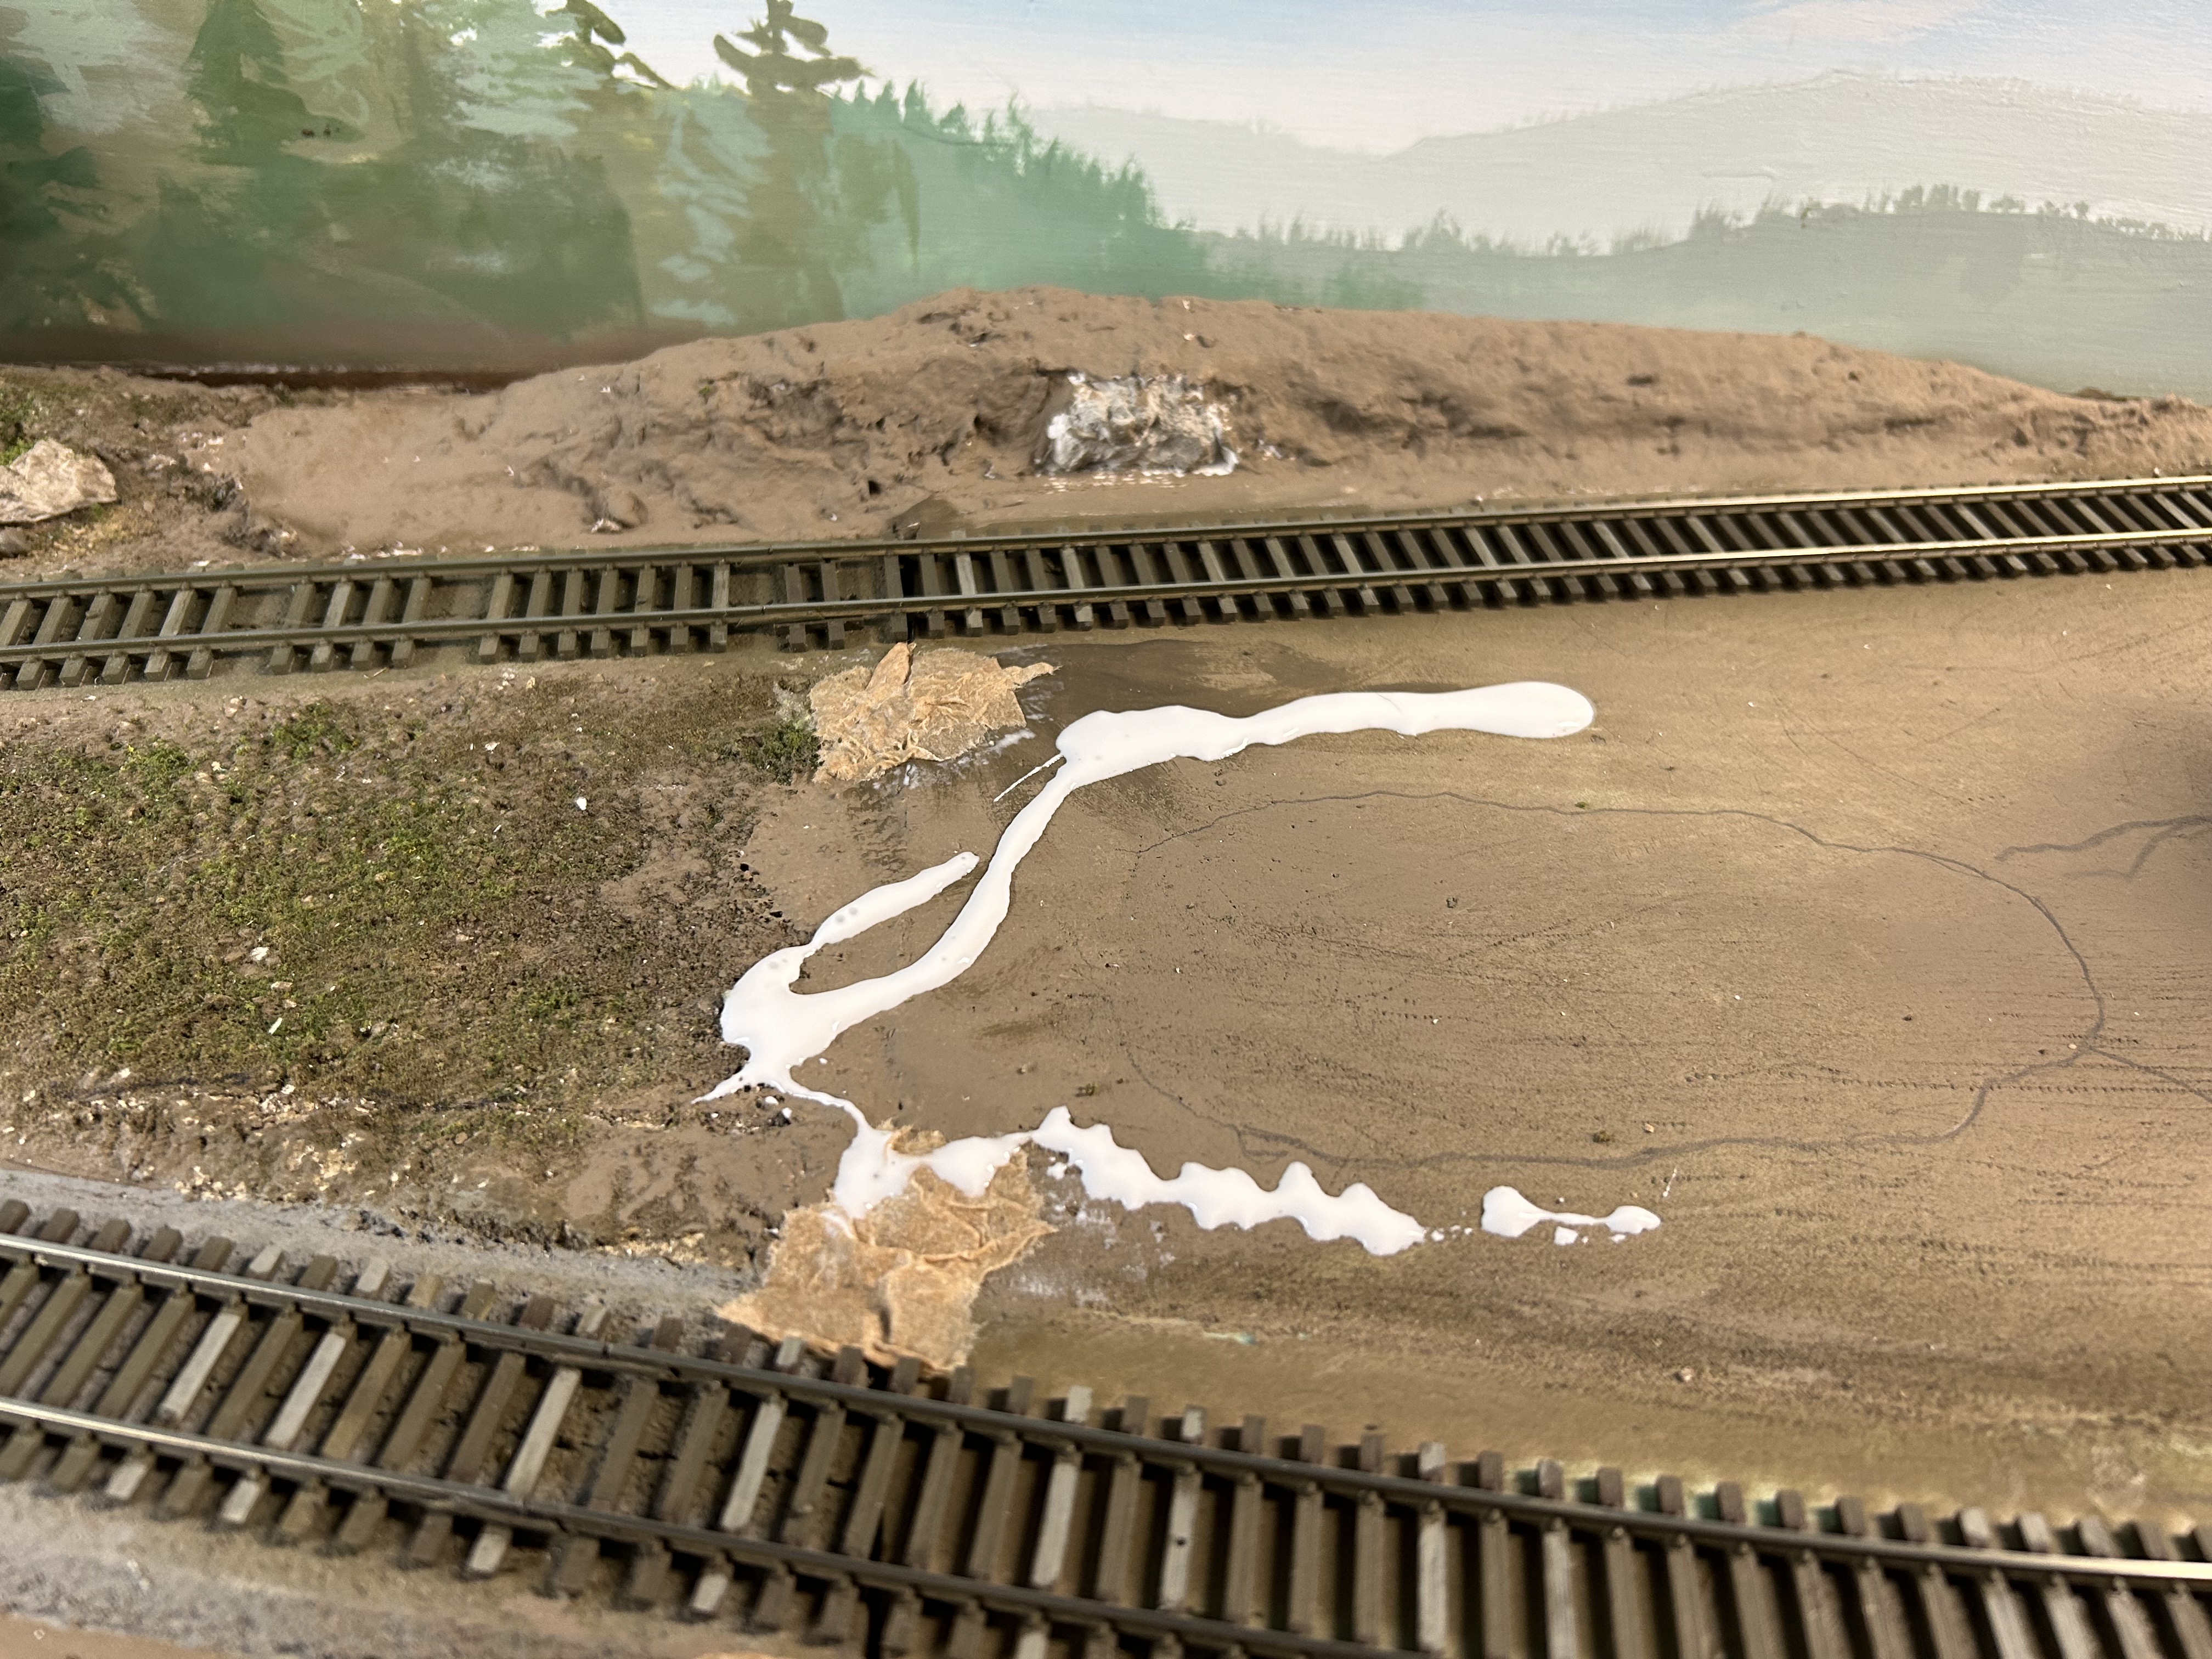
Knowing that a photo is a good way to evaluate how a modeling project is going, I definitely see some evidence that the tower is not as close to done as I had thought. While the grout that I experimented with in my last post has a texture that I really like, the signal tower's base is extremely obvious. Once I am satisfied with the placement or location of the tower, I need to hide that seam with another application of the grout mixture or the next layer of ground cover. At least a path to the back door, as well as the first layer of the driveway would be another next step for the surrounding scenery.  Some details like barrels, garbage cans, and boxes along with some weathering would help set the scene. In the photo, I can really see how shiny the roof appears. A quick spray of Dull Coat would kill that sheen. 
 

At some point since the last post on the signal tower, I made the decision not to try to light the tower. Yes, I had a "Just Plug" light on hand, but I hadn't really thought through how I would use it. First of all, the light and the connection plug are both big. To run either through the floor and base would require a big hole, perhaps 1/4 of an inch, or cutting the wire and soldering a connector to each end. Also, this section of the temporary sceniced staging is on a hollow-core door and 1" insulation. Will it be worth the effort to figure out running a wire through that? I decided that for here and now that it isn't. 

I made some paper signs, labeling the tower East Branch. I also have a Great Northern logo for the tower. Now, I am having second thoughts about the labels, leading to second thoughts about the function of the tower itself as well. 

Nooksack Control Panel
Today, as I was running a pair of trains brainstorming how operations might work here in the first phase of TOMA, I noted how I have the switch controls set up. The East Branch sceniced staging has hand-thrown Peco turnouts, while Nooksack itself has a control panel for Tortoise switch motors. The control panel sure gives the appearance of a model board that a tower operator might see. Shouldn't the tower be associated with the control panel? I am thinking that perhaps it should. 

Potential change of plans here!

No matter what I decide in terms of function and location of the tower, how did it get to the current stage of "close to doneness" from where I last posted about it over the holidays? 

Again, by using Vallejo Model Colors "sky grey" and "neutral gray" close matches to GN standard light and dark grey colors used from the 1930s through the mid 1950s are achieved. I painted a second coat on the doors and windows of both floors and painted the clapboards of the second floor with the lighter grey (which needed a second coat). I also painted a few roof shingles with an assortment of brown and grey colors. I later toned down the somewhat cartoony look with a control coat of Vallejo Model Wash "dark grey." 

While the walls were still apart I measured the window openings with calipers and cut out some clear styrene to represent window glass. I glued the clear styrene in place behind the window frames with canopy glue. After the glue dried, I cut some small strips of masking tape and applied it to the upper back of the windows to represent window shades. 

I decided that with all those windows I should make some attempts towards an interior even if I wasn't going to include a light. After gluing two of the walls back together and in place, I measured and cut a piece of novelty siding to represent floor boards. I painted the floor with acrylic craft paints and a final Vallejo Wash before installing it. After sliding it into place, I glued the other walls in place. I used Plastruct's Bondene and Plastic Weld, typically brushed on from the inside. I also made some benches and tables from my scale wood stash and painted up a couple of inexpensive figures that I had on hand. After constructing the furniture and the paint had dried on the figures, I glued them all in place with canopy glue. I am leaving the roof unglued as it snaps in place securely, and I may decide to add more interior details or light after all.

While I am less sure where to locate my raffle prize, and it still needs some signage, details, and weathering; I am calling it done(ish) for now. 

If the tower controls the switches in Nooksack, how would the train crew communicate with the tower? Would it just function as a yard office? 


Wednesday, January 17, 2024

East Branch: Starting Scenery From the Ground Up


Switch Tower Location along the NP interchange track before applying grout
As I continue with painting and reconstructing the signal tower, I decided to start some scenery around the area. After outlining the base of the structure and the tentative location of a road/driveway into the tower, I started the ground cover application with dirt. 

I am trying a new (to me) technique for this first layer: sanded grout. I had picked up a couple of tubs last year, but had not gotten around to trying them. After watching a couple of YouTube videos by Kathy Millatt and Martin Welberg, I decided that I could tackle this technique. They showed several different approaches, so I forged on with the materials I had on hand. I had picked up the two one-pound tubs of Polyblend Plus sanded grout at a nearby Home Depot. One color was 09 Natural Gray and the other was 380 Haystack. I also had some yogurt containers with some mixed ballast and a tub of "tube sand" on hand.

Before mixing up a blend, I sifted some of the tube sand, separating the sand from the small stones. The kitchen strainer seen in the photo fits perfectly into a yogurt or cream cheese cup. I use the small stones as talus or river rocks, and I figured the sand would add a slightly different texture and color to my trial blend. I sifted four or five spoonfuls of tube sand and then added a heaping spoonful of each color of the sanded grout to that tub of sifted sand. I also dropped in a bit of fine gray and a mix of brown and black Woodland Scenics ballast. Then I stirred it up.

Before I started to apply the grout mix, I glued a paper patch to the cracks/gaps between the modules. I used white glue and little bits of recycled paper towel, conveniently an earth brown color. Then I went ahead and dipped a small (one-inch) bristle brush into a tub of water and brushed the white glue around. I went right up to the outline of the base of the switch tower and of the future road while I stopped just a little short of the ties. I worked on no more than about a square foot at a time. After spreading the glue, I used a spoon to shake my sanded grout mix over the wet glue. While a fine mister may have been a better choice, I used an eye dropper to apply 70% isopropyl alcohol to the grout mix. Then I dripped scenic cement into the grout to secure everything in place. I also shook just a bit more of the dry grout mix onto any areas that seemed really "soupy." 

Grout mix "earth" applied around the tower scene, but still wet
I applied the grout mixture all around the future location of the switch tower and the entrance road and parking area. I also applied it to the berm behind the interchange track and to the "viewblock" foam mound. I am curious as to how much (or if) the color value lightens as the mix dries. I really like the texture of the grout mix compared to the ground goop I have used in the past. It seemed to me that the vermiculite pieces in the ground goop were the size of small boulders in HO scale. I also applied some of the stones under the rock casting as well as spooning on some of the sand in one section because I ran out of my grout mix. I am curious how that variety in texture will appear once it is all dry.

While my next post will probably be an update on the switch tower, the next steps here are ground foam, static grass, trees, and roadway. Depending on what this scene looks like as the "ground" dries, I am thinking that this new technique is a keeper for the first layer, starting from the ground up.