 |
| Switch Tower Location along the NP interchange track before applying grout |
As I continue with painting and reconstructing the signal tower, I decided to start some scenery around the area. After outlining the base of the structure and the tentative location of a road/driveway into the tower, I started the ground cover application with dirt.
I am trying a new (to me) technique for this first layer: sanded grout. I had picked up a couple of tubs last year, but had not gotten around to trying them. After watching a couple of YouTube videos by
Kathy Millatt and
Martin Welberg, I decided that I could tackle this technique. They showed several different approaches, so I forged on with the materials I had on hand. I had picked up the two one-pound tubs of Polyblend Plus sanded grout at a nearby Home Depot. One color was 09 Natural Gray and the other was 380 Haystack. I also had some yogurt containers with some mixed ballast and a tub of "tube sand" on hand.

Before mixing up a blend, I sifted some of the tube sand, separating the sand from the small stones. The kitchen strainer seen in the photo fits perfectly into a yogurt or cream cheese cup. I use the small stones as talus or river rocks, and I figured the sand would add a slightly different texture and color to my trial blend. I sifted four or five spoonfuls of tube sand and then added a heaping spoonful of each color of the sanded grout to that tub of sifted sand. I also dropped in a bit of fine gray and a mix of brown and black Woodland Scenics ballast. Then I stirred it up.

Before I started to apply the grout mix, I glued a paper patch to the cracks/gaps between the modules. I used white glue and little bits of recycled paper towel, conveniently an earth brown color. Then I went ahead and dipped a small (one-inch) bristle brush into a tub of water and brushed the white glue around. I went right up to the outline of the base of the switch tower and of the future road while I stopped just a little short of the ties. I worked on no more than about a square foot at a time. After spreading the glue, I used a spoon to shake my sanded grout mix over the wet glue. While a fine mister may have been a better choice, I used an eye dropper to apply 70% isopropyl alcohol to the grout mix. Then I dripped scenic cement into the grout to secure everything in place. I also shook just a bit more of the dry grout mix onto any areas that seemed really "soupy."
 |
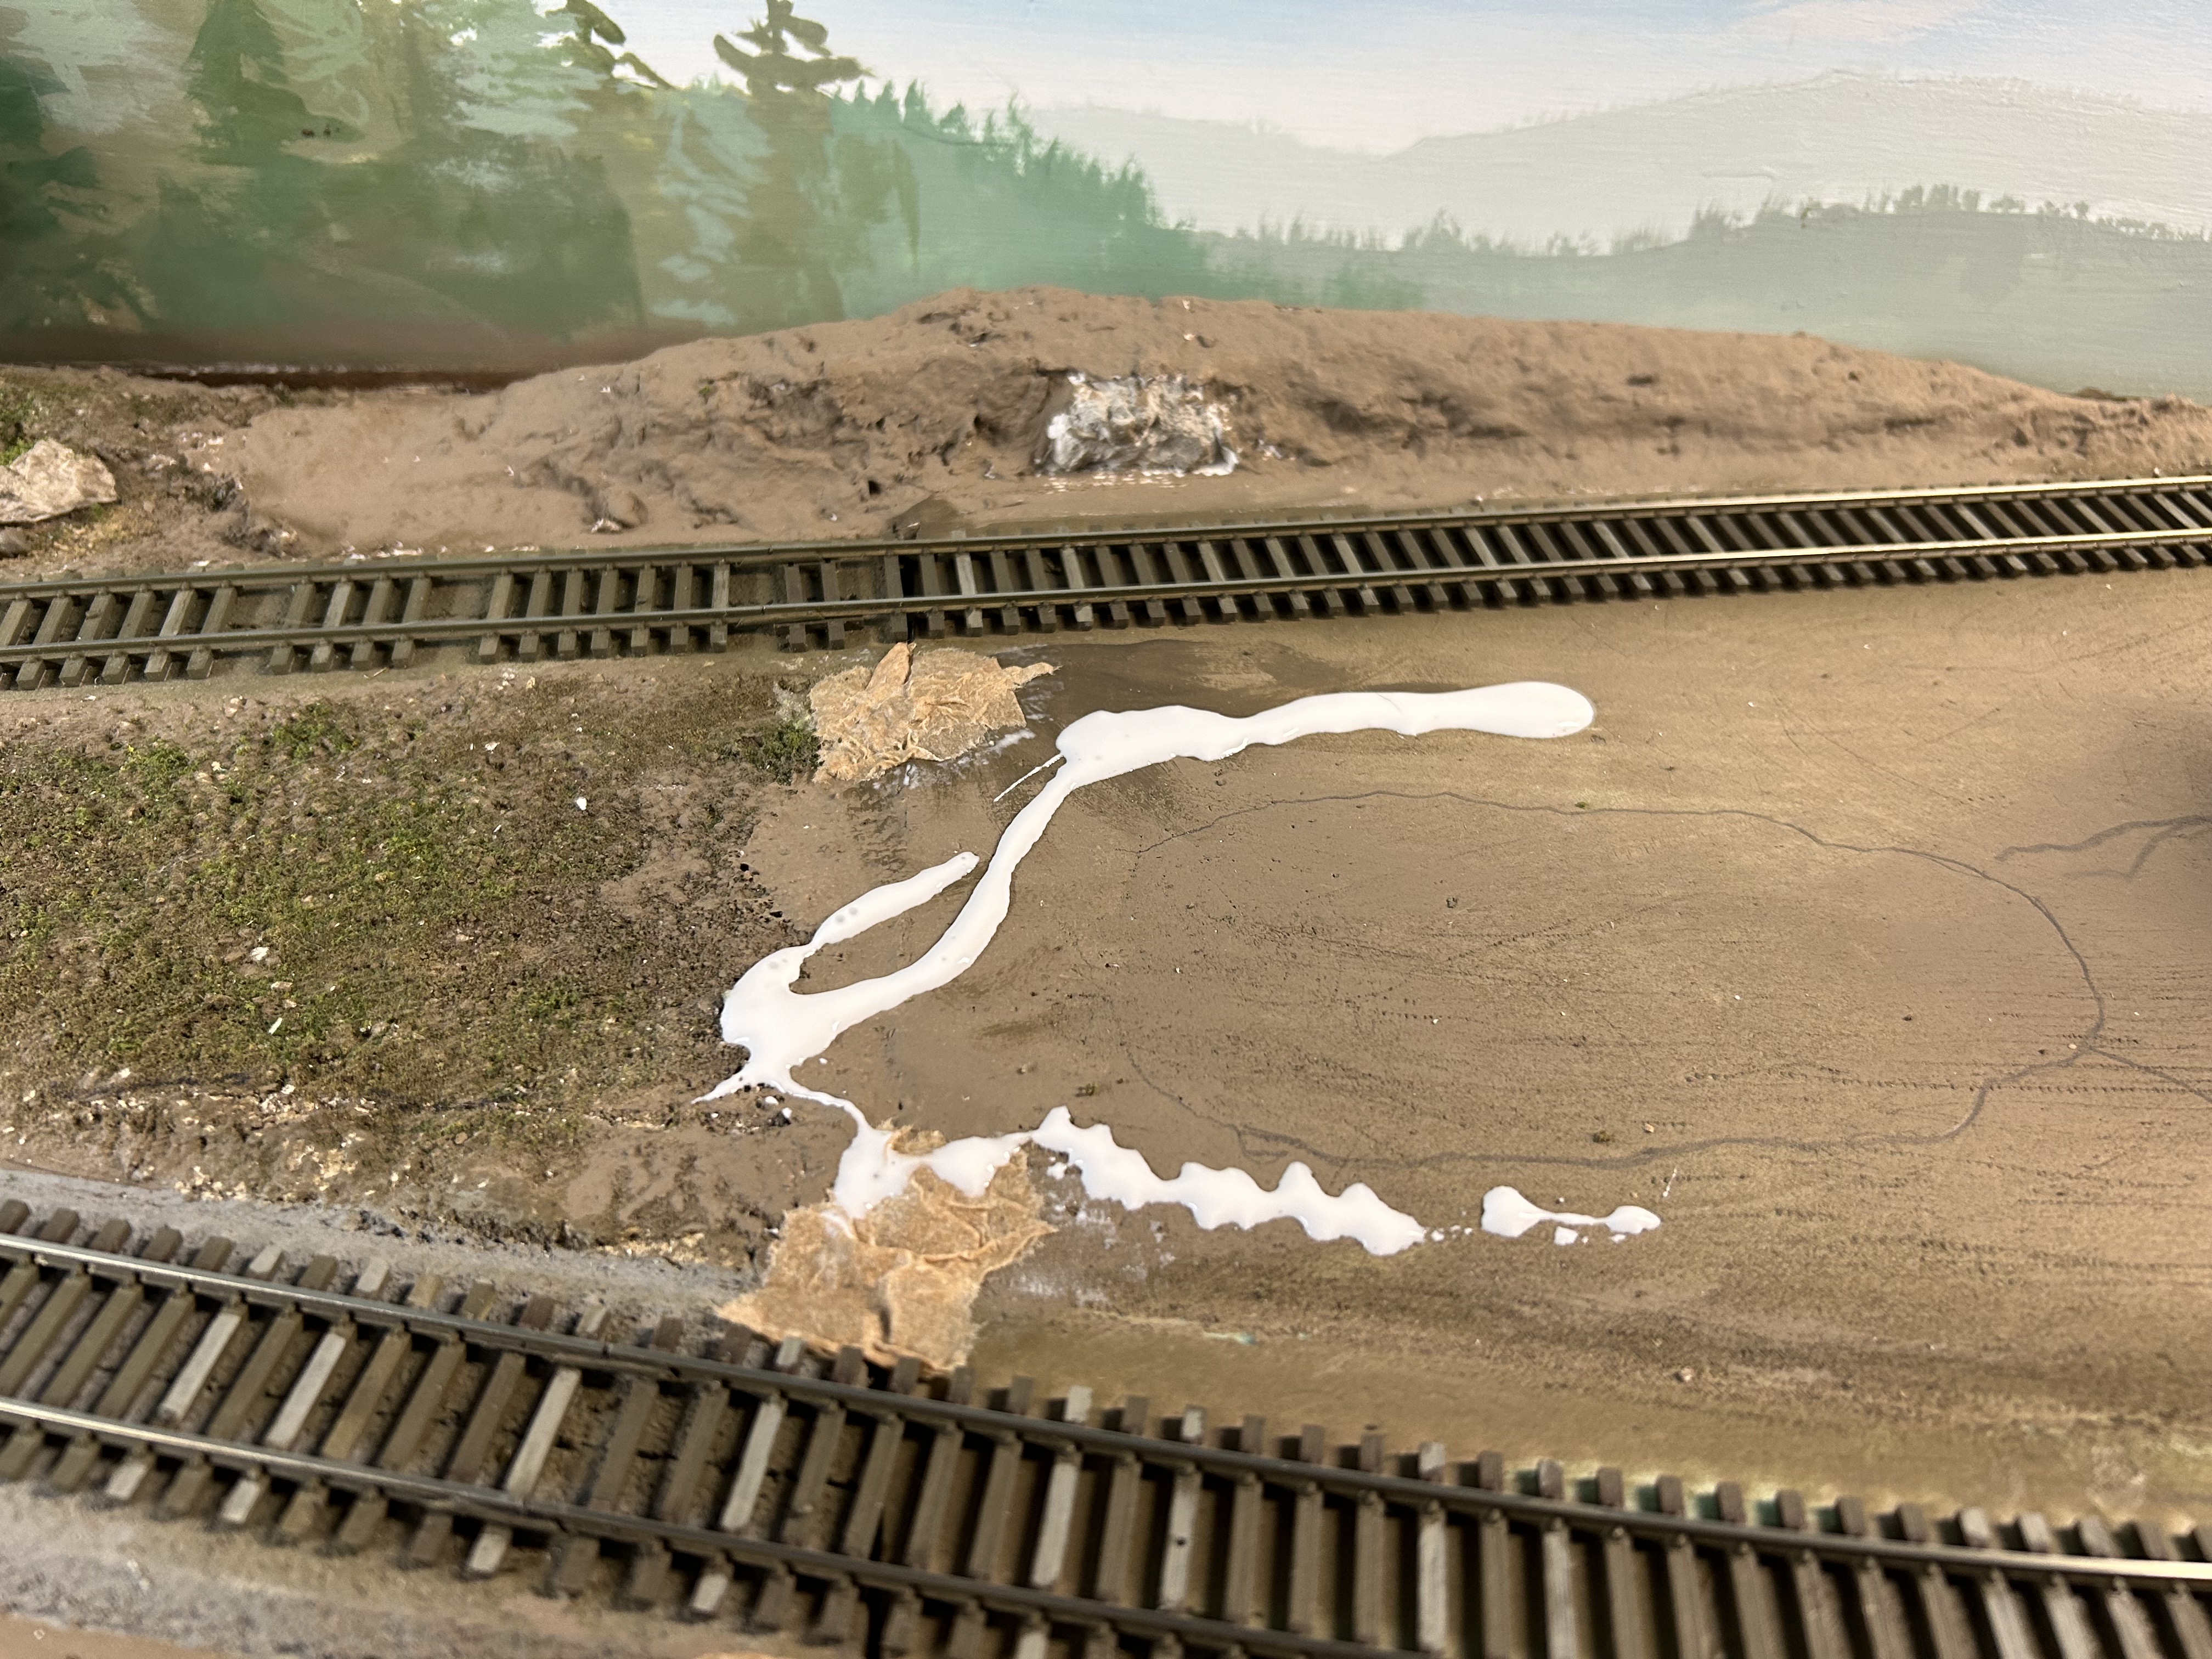
| Grout mix "earth" applied around the tower scene, but still wet |
I applied the grout mixture all around the future location of the switch tower and the entrance road and parking area. I also applied it to the berm behind the interchange track and to the "viewblock" foam mound. I am curious as to how much (or if) the color value lightens as the mix dries. I really like the texture of the grout mix compared to the ground goop I have used in the past. It seemed to me that the vermiculite pieces in the ground goop were the size of small boulders in HO scale. I also applied some of the stones under the rock casting as well as spooning on some of the sand in one section because I ran out of my grout mix. I am curious how that variety in texture will appear once it is all dry.
While my next post will probably be an update on the switch tower, the next steps here are ground foam, static grass, trees, and roadway. Depending on what this scene looks like as the "ground" dries, I am thinking that this new technique is a keeper for the first layer, starting from the ground up.


No comments:
Post a Comment