Thursday, December 5, 2024

Updates: Passenger Service, Initial Operations, and Nooksack Industries


After Dick Bradley commented last month, I went down the rabbit hole of learning about steam generators and clues to tell if a locomotive is appropriate for passenger service. The F7 that I have been using has no visible signs of having a steam generator, and F7 A units rarely had them. In GN passenger service A units were seldom used without being paired with a B unit, where the steam generator would be located. On the other hand, my GP7, seen above, does appear to have a steam generator in its short hood. The clues are the air intake dome and exhaust vent located among the short hood details. Looking at the prototype references mentioned in an earlier post and rooftop detail descriptions in this thread, my GP7 is much more applicable for use in passenger service than the F7 that I have been using. 

Since my last post, I have not made much progress on the combine, but I have gathered the parts I plan to use. Today I weighed the parts, the weights that came with the kit, the metal replacement wheels and the battery for the marker lights. Unfortunately I will need to add some additional weights to bring it up to NMRA recommended weight. As I configure how to wire the power switch into the underbody of the car, I will also have to figure where to add weight. I am reasonably happy with the weathering of the trucks, so I may as well start working my way upwards from there with construction of the car seen in my last post.


Whether they end up as passenger or freight power, both the F7 and GP7 need to be "broken in," so I have been using them in my first trial ops sessions. I mentioned before that I have struggled figuring out what my initial operations approach might be with Nooksack and East Branch as essentially a one-town approach. I am trying to work out a sequence system following the Fun for One approach of Byron Henderson. The first few sequence steps are working well for me, but when I transition to classification or small yard work I hit what my friend Mike Hauk calls "infrastructure" issues. As seen in the photo, the switch list ends up on the railroad. I need some sort of surface for writing the switch list. I don't know yet wether clipboard, shelf, or roll out desk is the answer. The agent desk approach that I discussed here and here may well work as the 4th Subdivision grows, but for this first phase it just seems to add an extra layer. To make up the switch list, I propped the car cards up against the cars and filled out the switch list before gathering and removing them. Now that the switch list is complete, I am set up to do some classifying and return to the sequence. After I work out some kinks, I will post with more detail on the sequence system.


Delving into the Ferndale Memories website for prototype passenger service ideas, I also reevaluated the industries that I am planning for Nooksack. The cannery, the team track, and the fuel dealer will all stay, but I am seriously considering replacing the planned Slease Supply with an elevator and a small feed supply building that I had started for my Meadville layout. In the arial shot and some photos of Ferndale on that website, a grain elevator and feed supply are located on a spur much like the spur here at Nooksack. As I work my way from rolling stock back to structure building, I am thinking that the grain company may better capture the atmosphere or feel of 1950s in Whatcom County. 

Friday, November 22, 2024

Passenger Car Lineup -- Part 3


In my most recent posts I mentioned this Roundhouse combine kit that I had on hand. After stripping the paint from it and a coach, I decided to move forward with this Harriman combine. My first step, after removing the cast on grabs, was to paint the body, using Tamiya TS-5 Olive Drab. I had picked up the green can along with Tamiya spray primer last year. I like the Tamiya paint; it goes on smoothly with very little build up. It was a nice clear fall day when I sprayed the two cars, so I worked outside. The paint is very smelly and the ingredient list is long and I am guessing toxic. I am glad that I worked outside. 

In my last post I mentioned going to a train show hoping to pick up some details. The show really focused on Lionel/O gauge trains, so although it was a big show, I didn't find much HO scale beyond swap meet kind of stuff. I did stop at Trains and Lanes on the way home from Allentown and found some diaphragms and picked up one pair to try. I also ordered some other details online, including passenger grab irons and seats. They should be arriving in the next few days. 

After going down a few rabbit holes of researching just how not prototypical this car would be anywhere, never mind on the GN, and ideas for building and detailing it, I started working on it. I am staying with the Talgo trucks for now; if I keep this car long term I will reconfigure later. I do want to experiment with weathering the car, so the first step was to spray the trucks with Dullcoat. As we have had our first blast of winter (10 inches of snow) I used the spray booth. I recently reread a Cody Grivno MR article suggesting Vallejo model washes for weathering trucks. As I have his suggested colors of Oiled Earth and European Dust on hand, I will try that technique. 


Friday, November 8, 2024

Passenger Car Lineup -- Part 2

Updated passenger lineup

While it is not really a pressing matter, I have continued along this vein of developing an operational and reasonable roster for potential passenger car service on the 4th Subdivision. 

After my last post I found my Sprog, downloaded JMRI to my new laptop, and set up the addresses on the two locomotives that I mentioned. The F7 seen above and the GP7 both have their DCC addresses set to their road numbers now, and they both are working fine out of the box. Without an option for continuous running, I will need to spend some time running them to get them "broken in" before I tackle weathering them. 

The F7, 312C, is a logical choice for passenger service with its factory applied diaphragm. I'm guessing that the diaphragm feature is because of the original intention of it to be a part of a multi-unit consist, but it still adds to the passenger train feel. I suspect that for now I will use the F7 as the power for an initial passenger local on the first phase, Nooksack centered, operations set up. While it appears from the Ferndale Memories websites that G7s were used in passenger service, I will use the GP7 for freight in my initial train running to get it broken in as well. 

My Harriman RPO, flying the orange and green paint scheme, went through a basic standards check. It has metal wheels, the coupler height checked out, and the weight was spot on for NMRA RP 20.1. While the GN did not have such a car, the model will work just fine for now as a stand-in. I used to run it as a trailer with my doodlebug,* but for now it will be the RPO on my first passenger line up. With its wire grabs and flashy paint scheme it will be a solid contributor once it has a little bit of weathering. I do appear to be running it backwards though. Oops.

This through baggage car replaces the truss rod coach car in my first passenger line up. It passed my basic standards evaluation with metal wheels, acceptable coupler height, and matching NMRA weight guidelines, It is not GN, but Canadian National Railways. The lineups shown in the Ferndale Memories website photos show lots of baggage and other head end cars including one or two from other lines. It would not be too much of an outlier headed towards (or from) the GN mainline and Vancouver. 

This other head end car, an express refrigerator car, is a GN car.  It did not pass my basic standards evaluation without some work. One of the couplers was not working well, so I replaced its couplers with Kadee whisker style scale couplers. I also placed a couple of drops of glue on one end's connection between the underbody and that end, as the body of the car was loose. After those few adjustments, it passed the routine standards check. 

The one thing missing for initial passenger service at this point is the ability to carry passengers. Last night, at the Thursday modeling night Zoom meeting, I attempted stripping paint from the coach and combine mentioned in my last post. I plan to move forward with working on the coach: clean up some flash, double check the paint stripping, and move on with painting. I rummaged in my stash of decals and have some GN passenger car decals. I am going to a nearby train show this weekend, and I will look for passenger car details.  My next post should either be updates on the progress of a car for passengers or a report on an ops session giving some running time to these two "new" locomotives. 

*The doodlebug is out of commission until I hardwire in a sound decoder, a project I am not ready to tackle right now.

Thursday, October 31, 2024

Convoluted Application of a Convention Clinic


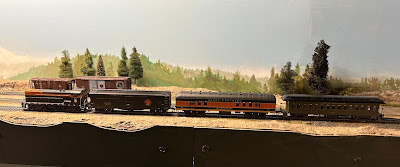
Clearly not a steam locomotive, but my current passenger consist!

At the recent Piedmont Junction MER Convention, I attended a number of clinics. One, by Chuck Davis, stuck with me, even though the main topic turns out to not really directly apply: "Modifying and Detailing Plastic Steam Engines." After returning home from travels to Maine and North Carolina, I did dig out my BLI Blue Line GN steam engine with its glitchy decoders. In addition to needing a new decoder, the need to convert its tender from coal to oil, and the obvious lack of a Belpaire firebox, the biggest issue is that all GN steam had been replaced by first generation diesels on the Cascade Division by 1954. I am not changing the date of my railroad setting! So how might this clinic apply?

I can apply Chuck's overall approach to my passenger train(s) on the 4th Subdivision of the Cascade Division in 1954. So what is this overall approach? He discussed an approach to modeling steam locomotives that he picked up from one of his mentors (who's name I didn't jot down) when he started out. It consists of basically three steps:

  1. Research
  2. Identify/exaggerate key features
  3. Add details by modifying existing or finding a mechanism and scratchbuilding

Research

Right now, I have three main sources of research. One is as a member of the Great Northern Historical Society. For example, in this June 2023 issue, the cover photo is of train #682 showing a GP9 and an older combine waiting in Shelby, Montana for the arrival of the Empire Builder on the mainline. The 681/682 was a mixed train carrying passengers, freight, and mail on the 37 mile branch line between Shelby and the Canadian border that disappeared from the timetable by 1960. A second source is a website that I recently rediscovered focusing on Ferndale, Washington in the mid 1950s. The memories (and photos) of a young rail fan from the mid 1950s are a great resource for researching small towns in western Washington as well as train make ups. A third source is the Morning Sun book, Great Northern, in color, Volume 1: Lines West. Lots of actual train photos here, although a lot are from the early 60s. 

Identifying Key Features


In the clinic that I presented in Durham, I talked about atmosphere, realism, and flexible operations.  Tied into several of these general topics, I want branchline switching with Great Northern practices that fit the atmosphere of the time and place. Looking at the opening photo of my current passenger line up, I see several issues. First of all, while the Morning Sun book does show an example of a three car passenger train headed by a switch engine in branchline service, it is an NW5, a fairly ubiquitous engine. While the GN did have VO-1000s, they only had ten in total across the entire system. The trailing coach in my lineup is a wooden coach with truss rods, a car that would not be seen other than in MOW service after the 1920s or 1930s, clearly an anachronism.  

Mail cars, baggage express cars, coaches, and first generation diesels are to be expected. Mixed paint schemes in short branch line line ups are to be expected, but are not universal. While I had not planned on having a mixed train, the GP and combine seen on the cover of the Great Northern Goat is a prototype to consider. I hadn't considered a mail crane or a train order board for my town of Nooksack, but now I am thinking of them as necessities after looking at the photos in the Memories of a Young Railfan site. 

Nowhere in my research have I found information about milk traffic yet, let alone a milk train on the GN in the time period that I am modeling. A Carnation milk condensory was located just outside Ferndale as well as in Everson with train sidings. They were not as busy by the 1950s, but still in use. At that time, the one in Ferndale had slowed down enough that part of the plant was used for potato storage. I want to model the milk traffic, but it might not be milk trains. 

A shift in key features might be in order: no milk train, but add a mixed train.

Existing Rolling Stock and Details
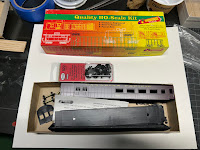

Wether it is for a milk train or a mixed train such as 681/682, a combine would be a necessity. I have a Roundhouse/MDC kit on hand. While as a Harriman style car, it is not prototypical for GN, but it is what I have. The RPO that I have in GN colors is also a Harriman car. At any rate, the combine can at least function as a stand in and skill improvement project. I plan to strip the existing paint and repaint in Pullman green. Metal wheels, proper weight, Kadee couplers, wire grabs, and basic decals are also details to add. Other possibilities include diaphragms, interior, and lighting.

A more appropriate kit for GN is this Athearn Blue Box coach. Again, paint stripping and repainting in Pullman Green would be a start. Metal wheels and Kadee couplers along with proper weight would be required to hit my rolling stock standards. Appropriate decals and wire grabs would be good skill building activities for me and add to the cars appearance. Diaphragms, interior, and lighting would also be worthwhile projects. 
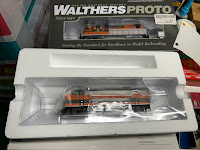
In terms of locomotives, my two most recent additions to my roster (actually over a span of around five years) are these two. On the bottom is an F7 from Walthers Proto in Great Northern livery. Above is GP7, also a Walthers Proto. Both have sound decoders, but have not been programed or run. I don't think either is set up for passenger service, but they both are typical and appropriate for prototypical use on the Cascade Division in 1954 and on my 4th Subdivision. Starting with finding my JMRI Sprog and setting it up on the new laptop, these two need some basic programming and then running time on the Nooksack first phase!

Having used Chuck Davis's outline, I see that I have some work to do on my passenger car line up to start initial service that meets my goals. The RPO and the Refrigerator Express car in my current consist could stand a standards review, and as seen above, I have several rolling stock projects lined up. Finally, I have two locomotives that need to be set up and broken in. 

Thursday, October 24, 2024

Planning After Moving: Clinic and Handout Links


At last week's MER convention, Piedmont Junction 2024, I gave a clinic on planning a new version of my model railroad after moving. A main gist of the clinic was how I determined what I actually wanted. The presentation also discussed a design process presented by Lance Mindheim that I followed showing examples of several options. Finally I revealed my first steps using the TOMA approach. 

I have added a slide to the presentation showing my proposed next steps as mentioned in a post from September (after I submitted my clinic). The slide presentation and handout are linked below, assuming I have successfully gotten Google Drive to talk with my blog.

During the Q & A session one audience member asked about my reference to Marty McGuirk, and I couldn't remember the name of his blog. It is the Central Vermont Railway, and it is listed in my Blog List here to the right. 

Link to download the PDF of clinic slides

Link to download the handout

Friday, September 27, 2024

East Branch Scenery Updates -- Part 4


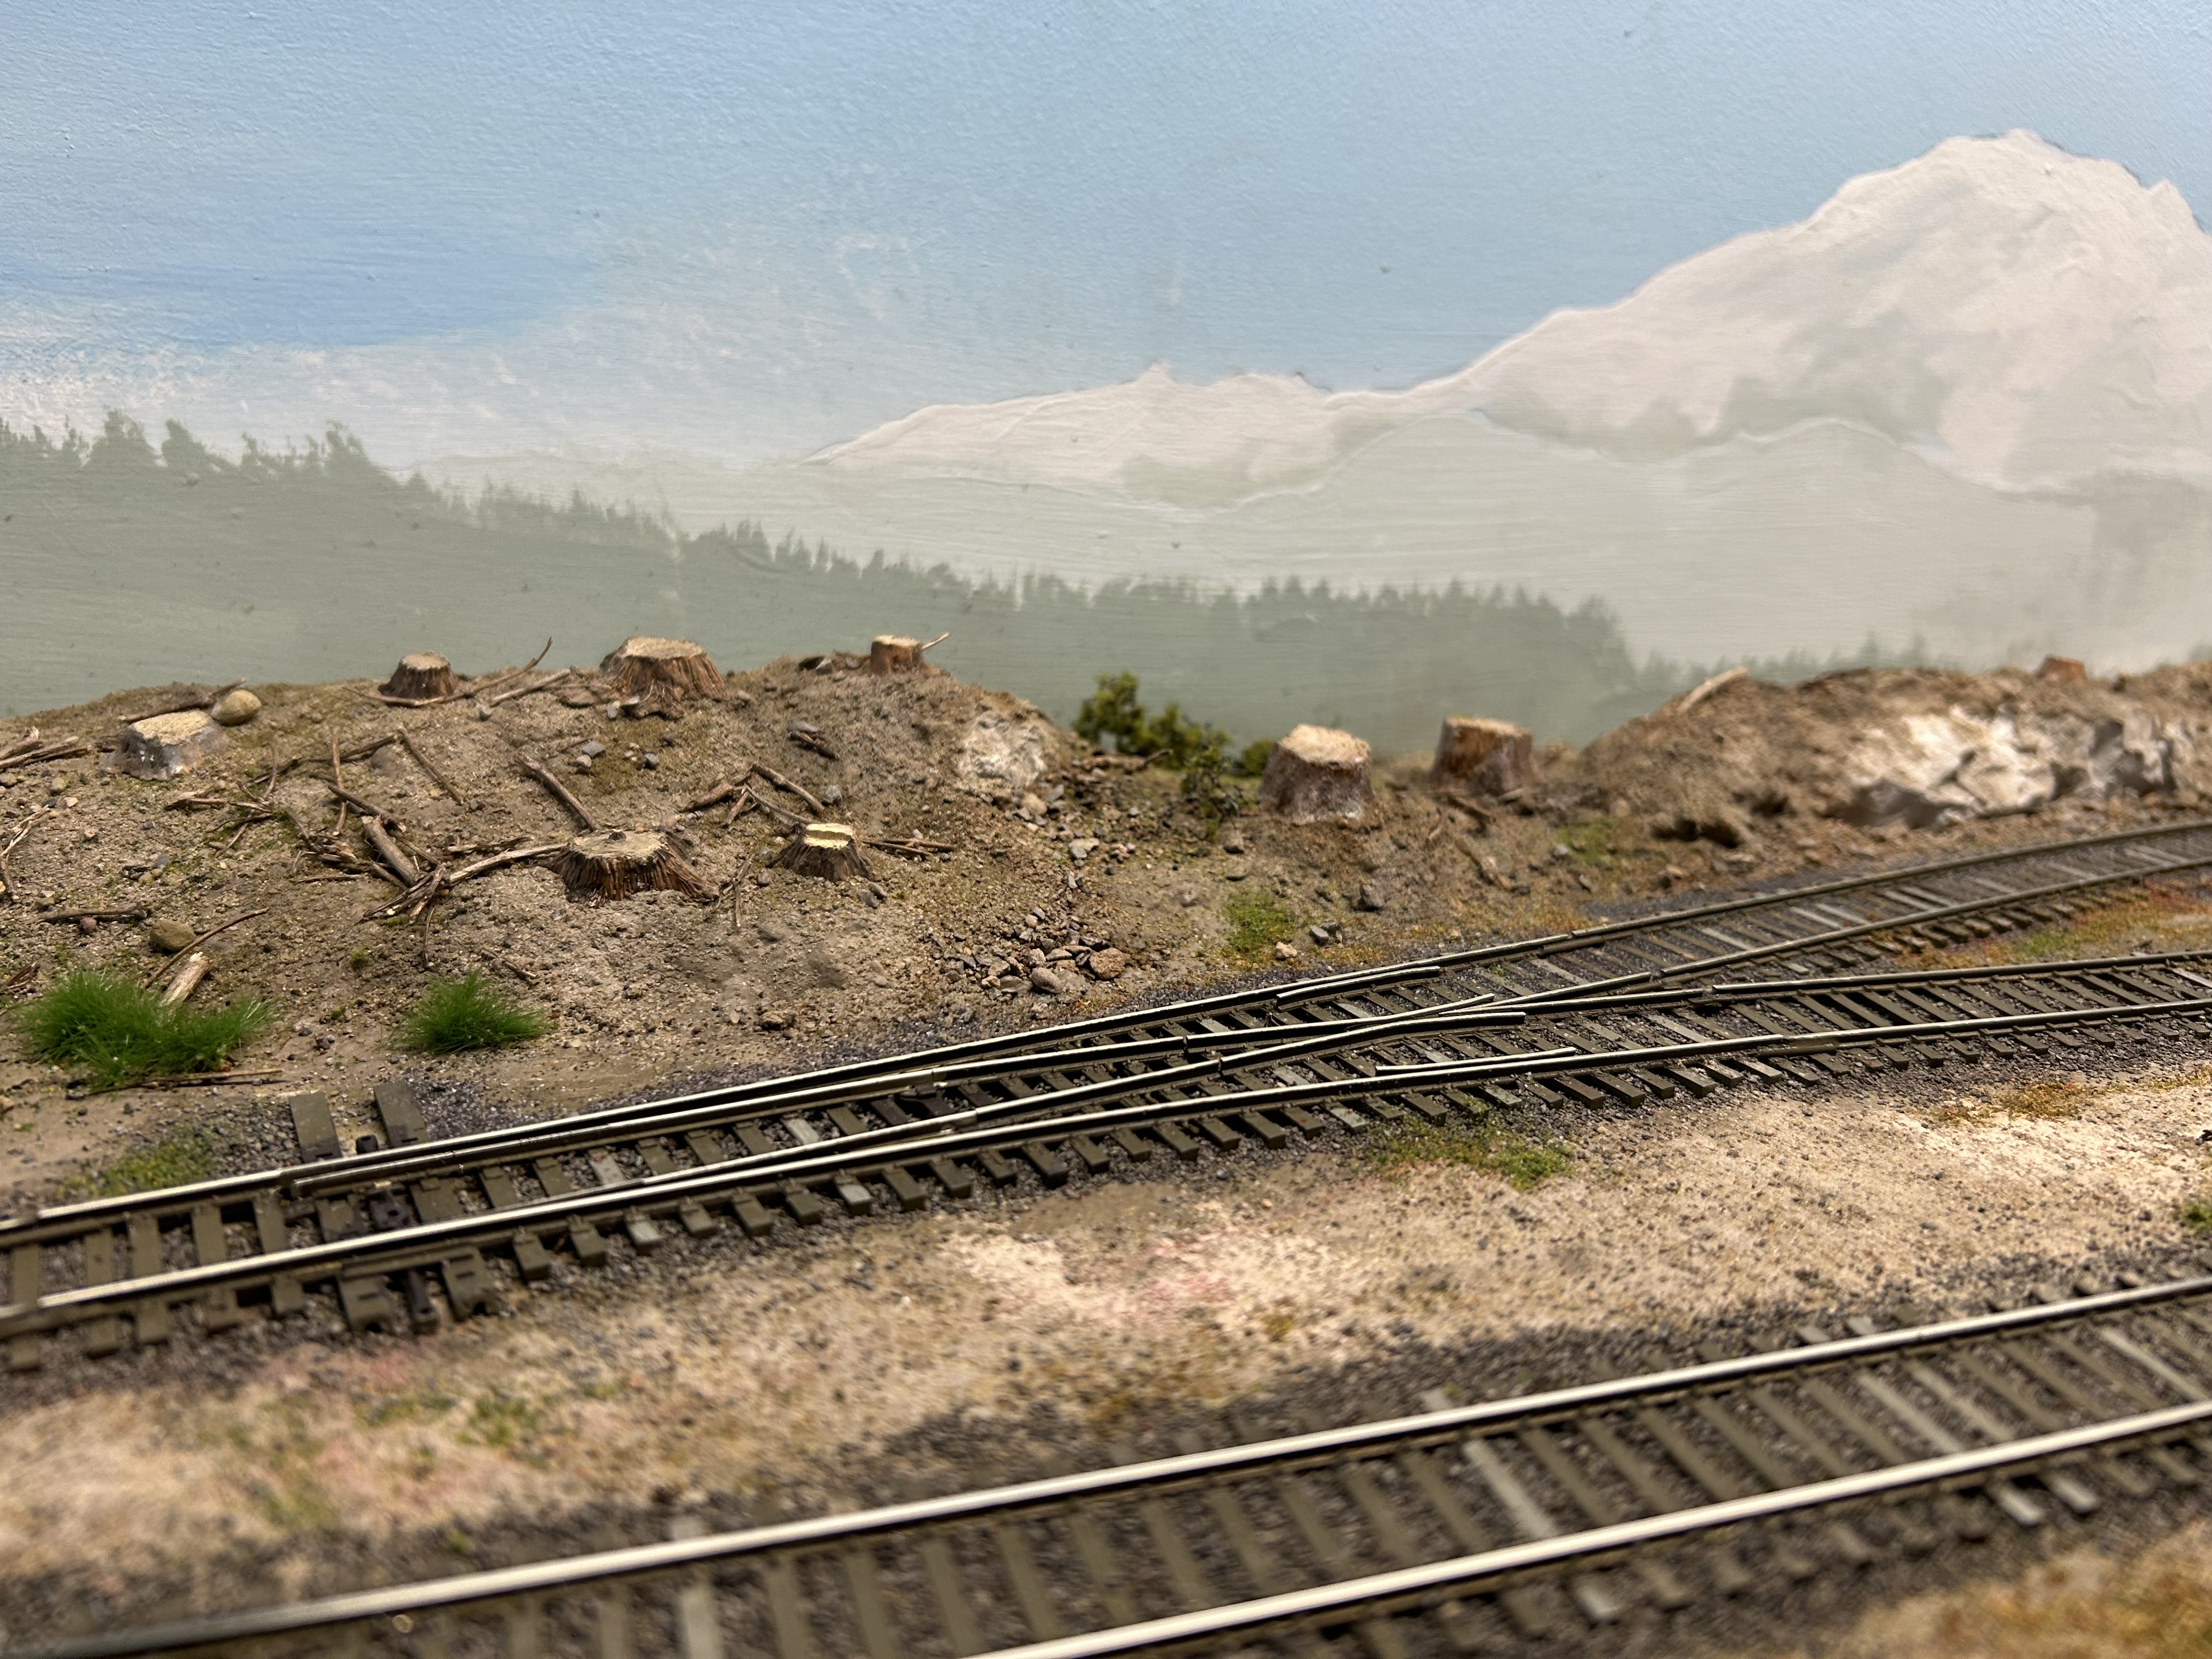
Here at the eastern end of the East Branch staging yard, the first phase of scenery is complete. Yes, more details could be added such as crossbucks, static grass tufts, and more bushes or shrubs. However, for the first layer, it is complete enough to move on. This scene generates Pacific Northwest atmosphere which is one of my goals. This scene also brings to a successful close the fix or extension to the originally planned staging. The first layer of ground foam and other scenery materials disguises the abrupt foam hillside to some extent. Time to move on!


Here, another section of the East Branch staging module exhibits enough first layer of scenery for me to feel ready to move on. The track is ballasted, the original clearcut area has been expanded, and some texture is applied from the berm and gap in the rear to the front fascia. Another layer of scenery should be applied later, but a foundational level of atmosphere and realism goals are there. Now, I need to get up the gumption to add to the first layer of scenery between these two areas, at least make sure that some texture is applied everywhere beyond painted plywood before I return to the Nooksack module's buildings, scenery, and operations.

In my last post, I discussed long range plans and a desire to improve the surroundings in the basement. While I do want to connect the two first phase finished areas ASAP, my thoughts about the basement were reinforced  when our new cat sitter came by to meet Jane and Gracie yesterday. When we mentioned the trains, she wanted to see them. As the first phase of the 4th Subdivision is coming together and I can take some pride in it,  I fear that the surrounding basement is more than a distraction; it destroys the illusion. Some improvements to the surroundings must be fit into the schedule!


Thursday, September 12, 2024

TOMA In the 4th Subdivision -- Long Range Plans

Sketch Plan/Design for the 4th Subdivision
I spent the past few weeks revising a presentation on planning a new model railroad after moving and writing the accompanying handout that I will be giving at the MER convention in October. The clinic discusses both general plans for designing a model railroad and how I designed this one. I break the presentation into three parts: To get what you want you have to know what you want, the actual steps I took in designing a model railroad, and using TOMA. 
Nooksack and Staging

For much of the past couple of years, I have slowly made progress on the first phase of TOMA, the town of Nooksack with staging on both ends. The east staging, now named East Branch, will be fully sceniced and is a new module that I have written about a lot here on the blog. While I am somewhat disappointed in the slow progress so far, I feel like what I have accomplished has been somewhat successful. I do need to make a commitment to picking up the speed here as we enter "model railroad season." One major issue is that I have used something like the TOMA approach to providing the space for my railroad. This has been what I see as my largest mistake so far. This piecemeal transition from unfinished basement to layout room has not been satisfying and may be a contributing factor to lack of progress.

TOMA Phases Color Coded

While working on my presentation and thinking about progress on the "train room," I have returned to thinking about the long term goals for the entire railroad. Phase 1 is the town of Nooksack, well under way. My plan for Phase 2 is for Ferndale, a major interchange and fiddle yard, in addition to a new section of mainly scenery including a fill and cut to be added left (to the west) of Nooksack. That area of the basement is very decrepit right now. Although I don't want to start building any benchwork, I think that I should move to room prep of the Phase 2 area of the basement before Nooksack is finished. It would make for more desirable surroundings for me and acceptable surroundings for visitors.  

Moving into even longer range plans, the color coded illustration shows what I am thinking of in future phases of TOMA construction. Phase 3 will replace the temporary East Branch staging with the permanent town of Chikamin and a totally new section with scenery and an interchange between Chikamin and the Nooksack section. At the same time, the East Branch sceniced staging will move to in front of the posts as seen in the illustration. Phase 4 will be the blob peninsula and Phase 5 will be the Port Gulick scene. Other than an existing module from Meadville that is planned as the core of the town of Chikamin, all these sections will be new construction. 

We will see how much of this long term planning comes to fruition, but for now work on the first phase and some improvement of the surroundings in the basement need to press forward.