Monday, August 15, 2016

Preparation for Laying Track

With the backdrops painted and the cork down, it is time to actually lay the track with the goal of actually running some trains. I will take a how-to approach to this post as I am trying some new techniques and I am learning how to do some of this myself.

Prepping the Cork for Turnouts

Materials                                     

  • Scrap cork
  • Hobby knife 
  • Hobby knife with #17 blade
  • Machinist's square
  • Scale rule
  • Sharpie
  • Sanding block 
  • Wood glue
  • Drill with 1/4" bit
  • Flat black latex paint
  • Grey latex paint similar to ballast color
  • 1" bristle brush
The switch stand pads are made from scrap cork, turned upside down so they slide into the bevel. I trimmed mine to an eight scale feet width. I beveled the three sides first with a hobby knife and then a sanding pad. I glued them in place with wood glue, centering each of them with the tie rod lines that were already marked next to the cork.

After glueing the switch stand pads in place, I cut slots for switch machine actuating wire. While I do not plan on using switch machines on the side of the layout I started on today, I went ahead and prepped for them in case I ever change my mind down the road. (It is nearly impossible to drill out the holes after the fact without tearing up the turnouts.) The first step is to mark a rectangle on the cork approximately 1/4 by 1/2 inches, centered along the mark for the throw rod. The next step is to cut out the cork with a #17 chisel edge blade. Finally, after removing the cork, drill two 1/4" holes and use the drill to connect them into a slot.

At this point, it makes sense to paint under the turnout locations. By painting the cork a flat black or a close approximation of the ballast color under the point rails, one can avoid ballasting (or at least heavy ballasting) under the path of the moving point rails. Also, in this area, I had patched the cork with white spackle and the paint will hide any white showing through.

Prepping the Turnouts

                                                                                                                                                               
In addition to the tools needed for prepping the Peco Electrofrog turnouts, one can see the painted cork with turnout pads ready for the track in the photo to the right.
  • rail nippers
  • wire cutters
  • wire strippers
  • needle nosed pliers
  • hobby knives
  • jeweler's files
  • #20 wire
  • solder, rosin, soldering iron
  • solder stand with alligator clips
  • drill with 1/8" bit
  • pin vise and twist drill bits
  • multi-meter

The Peco Streamline Electrofrog turnouts that I am using need a few adaptations for independently powered frogs and DCC "friendliness." A clear discussion of these turnouts can be found on the DCCwiki. The steps I am taking for Willow Junction are below. Again, I am not using switch motors on this side of the layout, but I am powering the frogs with a Tam Valley "Frog Juicer." Steps 1-5 are preparation before laying track, and 6-10 are part of the track laying process. 

Peco Elecrofrog with first three modifications done
  1. Snip the wires connecting center rails to frog. (The gap is already there in Peco Streamline Electrofrog; in other brands one needs to cut a gap in the rail.)  
  2. Solder the point rail to the stock rail for the mainline and diverging rails at the gaps in the plastic tie material under the turnout.
  3. Solder feeder rail to frog. Since I already have a "Frog Juicer" installed, I made sure the wire would be long enough to reach it.
  4. Construct a wire jumper to bridge the hinge at the point rails. David Popp has instructions on MRVP Olympia Layout. While I understand the rationale for having this, I find that my first attempt is unsightly and detracts from an otherwise attractive turnout. 
  5. Check continuity with a multi-meter. Ohms will show continuity. Frog should be isolated (no continuity with other rails). Stock and closure rails should have continuity, but just on one side. No continuity between mainline and diverging routes.
  6. Measure and locate position before drilling 1/8" hole for feeder wire through the cork.
  7. Trim head block ties if switch stand is located on opposite side.
  8.  Trim ties for rail joiners as necessary.
  9. Drill out ties for track nails from back side if desired.
  10. Remember to use insulated rail joiners after the frog! It is a built in short if you don't do this.

I am curious what others think about the need for a prophylactic wire jumper to bridge the point rail hinge, my step 4. Please comment!


Saturday, August 13, 2016

Backdrops Part 3: Background Landscape

Painting the background, other than sky, requires some research to match the appearance of the location that one is modeling. If it is not a reasonably close-by location, some internet tools can be very helpful. Three that I have found useful are Google Earth, Wikipedia, and on-line real estate photos. Because I was taking a trip to the Pacific Northwest to finish up some final aspects of our move to Pennsylvania, I was able to fit in some in-person research. Traveling parallel to the route of the 3rd Subdivision between Anacortes and Burlington and driving around Ferndale, gave me the opportunity to take some snapshot-quality photos as reference.
Mountains, trees, and field west of Ferndale


The first step in actually painting the backdrop was to pencil in some lines for background mountains, hills, and trees. Another step before actually painting was to mask off the bench work, cork, or any of the DCC components with newspaper and blue tape. One of the techniques I learned from one of my modular railroad friends in Seattle was to spray white haze between layers of hills to add depth to the scene. I wanted to protect the surroundings as I attempted that technique with a flat white rattle can.


This shot, to the left, shows three layers of hills with white spray paint between the more distant layers and behind the tree line. In this part of the painted background I kept the horizon low and the colors muted with the only real detail in the subtle conifer brushwork at the top of the ridges. These are three of the colors that I premixed with the intent to use them throughout the initial layout and any later extensions that I might add in the future. I used the sky blue and white latex paint as well as adding some craft paints colors (slate grey and medium foliage green) and raw umber Liquitex acrylic.

The shot to the right shows both the beginning of a signature scene, Mt. Baker, and the array of brushes that I used. In one of the coved corners I wanted to include Mt. Baker because it is definitely a recognizable feature in Whatcom County, at least on a rare blue sky day. Of all those brushes, the two that I used the most were a #8 bristle round and a #2 bristle flat. I used a larger bristle flat to create the treed texture at the top of some of the ridges and a softer flat and a fan brush for some closer tree work. But really, I could have gotten by with just the two.

In this shot, to the left, my attempts to layer details while keeping a low horizon line are shown. At this point, I have completed painting the background landscape for the backdrop of the initial "U" shaped layout. As I add foreground scenery and complete the final step, disguising the right angle between the backdrop and the benchwork, I may have to go back and make some adjustments or additions to the painted backdrop.


Friday, August 5, 2016

Progress Update

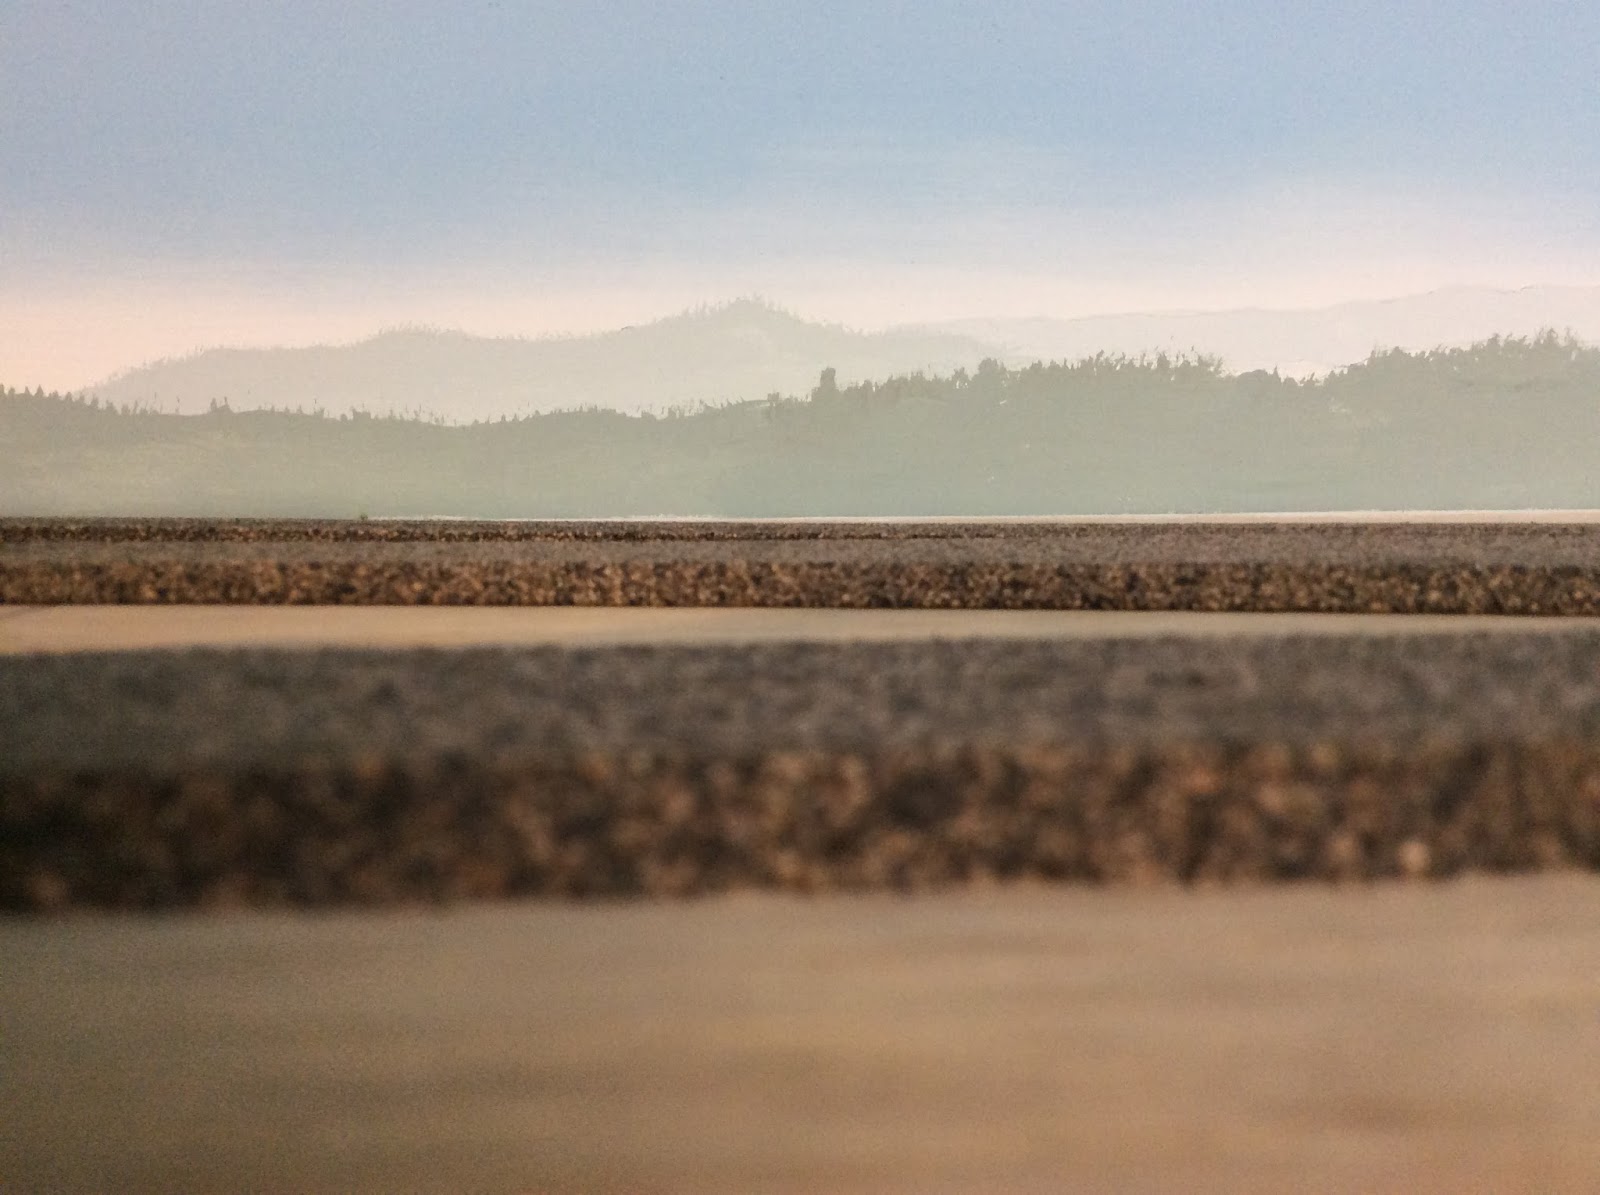
Willow Springs side of the "U" with cork installed
Some serious progress has been made on the layout in the past month or so. The benchwork, track plan, and cork are complete (other than the fold-up, west end staging) for the initial U-shaped layout. Likewise, the backdrop is complete with sky. Now the next steps are to add detail to the backdrop and to install and wire the track.

Tuesday, July 12, 2016

Planning for Operations

While track is not yet installed on the layout, planning for operations is definitely part of the process, even at this stage. Once the track plan had been finalized by mocking up the Willow Springs side in place, I adjusted my scale track plan to incorporate those changes.

Revised track plan with Willow Springs to
the left and Willow Junction on the right

Version 2.0 and Naming the Tracks


With the track plan finalized, I was able to name all of the tracks.   Many model railroad writers, such as Tony Koester and Andy Sperandeo, suggest this as a way of making both the layout and operations on the layout more authentic.

The original plan for Willow Springs had a warehouse located along the siding, which in prototype practice would not have cars "parked" along it. The purpose of a siding is as a passing siding for meets or as a runaround; neither of these would be easily accomplished with a boxcar left at the warehouse. In this second iteration, the siding is able to function as a siding.


First draft of timetable and system map

Location On a Map


Earlier this spring I spent some time figuring out the location of the freelanced 4th Subdivision with its combination of fictional and real locations. Ferndale is a real town located along the GN mainline, now the BNSF. The Fourth Subdivision travels from the fictional Port Gulick Bay, located near the real Lumni Bay, through the lowlands towards the foothills and ultimately into the Cascade Mountains. Nooksack is a real location, while Willow Springs, Curtis, Chikamin (Chinook jargon for metal), and Green Rock are fictional names.

In addition to adding the 4th Subdivision to a prototype Great Northern system map, I also created a first draft of a timetable for a scheduled passenger train. Not only will locating the layout on a map help with orienting the movement of cars, but it will also help with creating appropriate and realistic scenery.

Sunday, July 10, 2016

Finalizing the Track Plan

Now that the benchwork and backdrop for the layout are in place, I am able to revisit the Willow Springs side of the "U" and shift to a focus on starting the trackwork. It turns out that I did make some changes from my initial plan based on mocking up the plan full size on the benchwork.

Mocking up the track plan at Willow Springs
Along with shifting the location of a couple of turnouts, the major change was to add a second  spur off of the passing siding. While I had already obtained the turnout needed to add a team track spur, I found that I will need some additional cork and flex track. Those are now ordered and I have penciled in all the track center lines and turnout locations for the revised track plan. With the track plan finalized, I installed the cork for the spur and curve leading from Willow Junction to the trestle at the base of the "U" completing the cork roadbed on that side of the layout.

New tool added to my roadbed installation toolkit
While I followed the procedure for laying cork mentioned in an earlier blog post, I found that a small machinist's square is an essential tool for making perpendicular cuts in the cork. Also, now that they are available,  I find using  commercial turnout pads definitely save time, but they do add to the expense. With the trackwork plan finalized for the entire layout, I can continue to make my way with the cork roadbed and set up my workbench for modifying the turnouts.

Monday, July 4, 2016

Backdrops Part 2: Painting the Sky

After prepping the seams, painting the sky is the second step on the backdrop to the layout. Rather than just painting a sky blue color, I blended the sky blue color into white at the base of the backdrop to simulate the haze at the horizon. The initial effect seems a bit stripy, but more background will be added along the horizon later.


I used a small roller for the blue and a brush to apply the white and blend the two. I painted both colors in about a four foot section and blended the white into the blue before moving into the next section. This way the edges between colors and sections where wet when I moved on to the next area.

After the first coat dried overnight, I found that some areas did not have full coverage over the dark brown masonite. The blue is one of the newer paint and primer paints, but it still needed a second coat. Multiple coats can help with the blending from one color to another, so no harm, no foul. A handy tool for backdrop painting is to cut out a corner of the top of a milk jug to make a brush wash station. One is visible in the river cut out in the back of the photo to the left.


Another handy trick for backdrop painting is to seal the roller in a zip lock plastic bag. The photo to the right shows the roller sealed up overnight between the first and second coats. It was ready to go the second day; no muss and no fuss!


While I was painting the second coat, I added some clouds above the haze layer. Basically I blotted some white into the blue with a wadded paper towel. Then I repeated the blotting action to blend the white and wet blue to give it a more translucent or cloud-like look.

Now the backdrop is ready for nearer mountains, hills, and trees. More about the research, planning, and execution for that in Part 3.

Friday, July 1, 2016

Prepping the Backdrops

Now that the benchwork is complete and the backdrops are up, the next step before painting them is to tape and mud the seams using wallboard supplies. I purchased the smallest tub of joint compound and shortest roll of tape I could find along with an inexpensive set of plastic taping knives at the big box store.
One of the three seams to be sealed

The backboards on the layout are tempered hardboard (Masonite) ripped at 16" with 12" visible above the back of the layout. I mounted them to the back of the frame with screws and washers. At the seams I glued a piece of scrap "one by" wood to tie the two pieces together. I will prime the back of this last section when I finish the seams and have the primer out to paint the joints.


After sanding the edges on the front of the seam, I installed
fiberglass tape and the first coat of mud. The photo to the right was taken after I applied the first coat of mud. While the actual work time has not been much to speak of, this process takes one day for each layer to allow the joint compound to dry over night. I sanded, vacuumed up the dust, and wiped down the joint with a damp cloth between each coat.


The photo to the left is after the third (and hopefully final) coat was applied. For each coat I used a wider knife. After it dries, I should be able to sand and then prime the area around the joint before proceeding to actually painting the backdrops on the layout.